Adjusting perspective and image geometry
Table of contents
- Why is perspective correction important?
- Selecting a photo
- Rotating an image
- How to adjust perspective and image geometry
- Cropping an image
- Saving the adjusted image
- Adjusting the white balance after perspective correction
- About ArtistAssistApp
ArtistAssistApp allows you to straighten skewed photos and remove unwanted edges. It is very useful for getting a perfect, professionally-looking image of your painting, which is essential for showcasing your artwork.
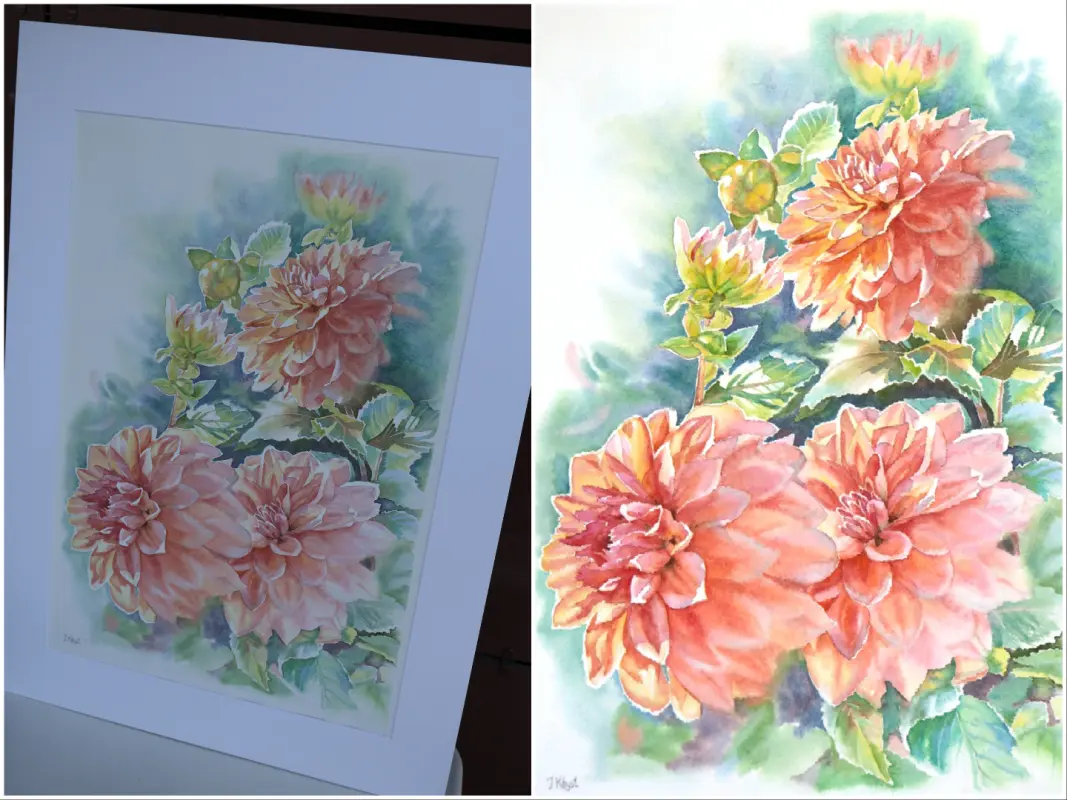
Why is perspective correction important?
Have you ever taken a photo of your painting to post on a website or social media? But no matter how carefully you make sure that all sides of the paper or canvas are parallel to the borders of the screen, there are still small (or large) perspective distortions? Of course, you can also post a photo this way. However, to achieve a truly professional look, it's best to correct any perspective distortions and ensure that the paper or canvas in the photo is perfectly rectangular.
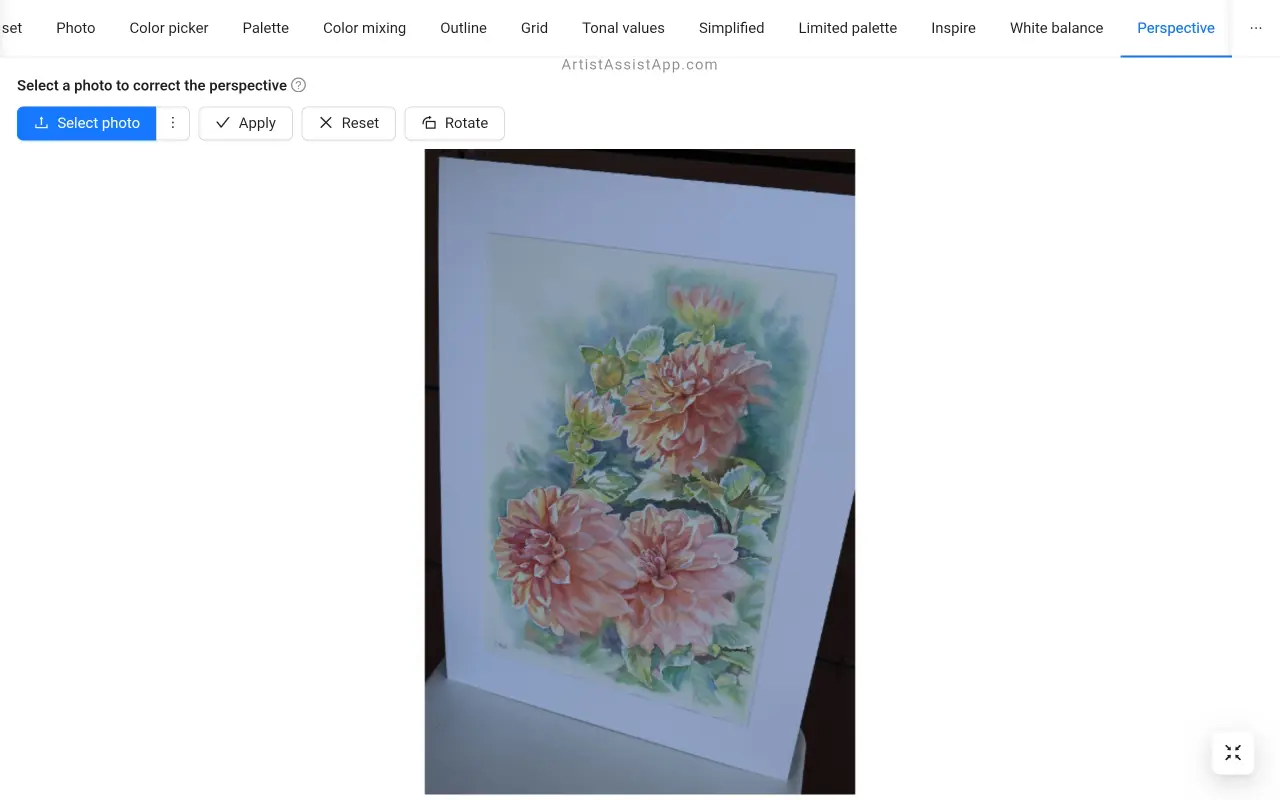
Selecting a photo
Open the Perspective tab and select the photo for which you want to correct the perspective.
Select any photo from the device by pressing the Select photo button, or select the current reference photo by pressing the ⋮ (vertical ellipsis) and then the Use reference photo button.
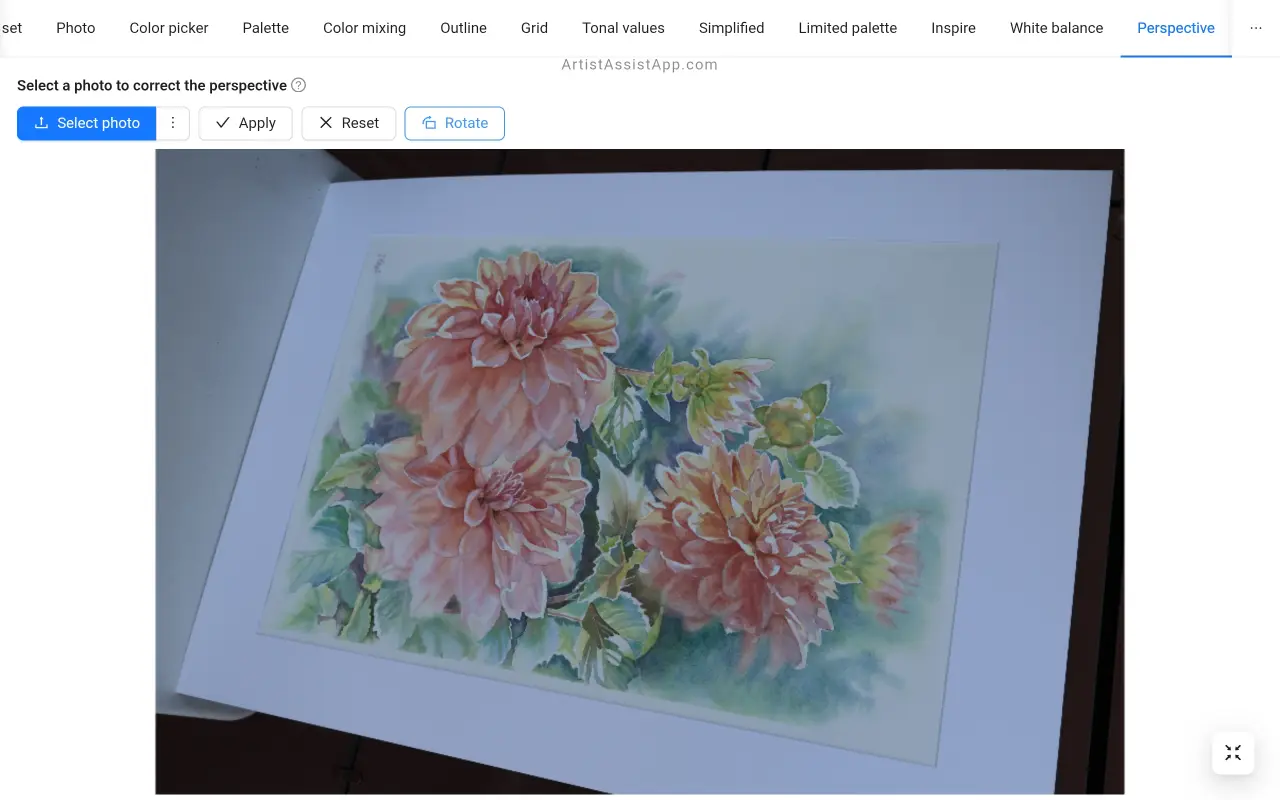
Rotating an image
If needed, you can rotate the photo 90 degrees clockwise by pressing the Rotate button.
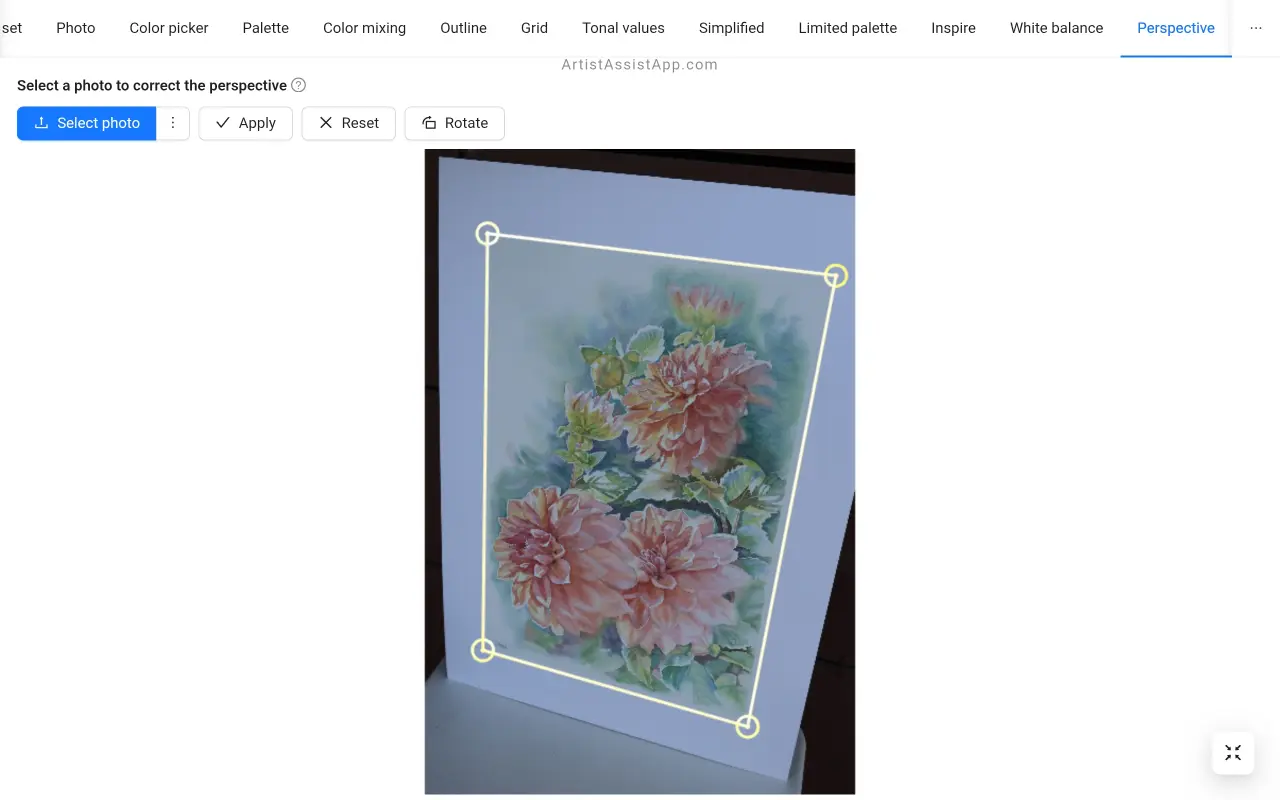
How to adjust perspective and image geometry
Click or tap on the photo to select 4 points to define a quadrilateral that will be used to correct perspective. This quadrilateral will be transformed into a rectangle, transforming pixels inside it, correcting the perspective. You can drag the points to more precisely select the painting's vertices.
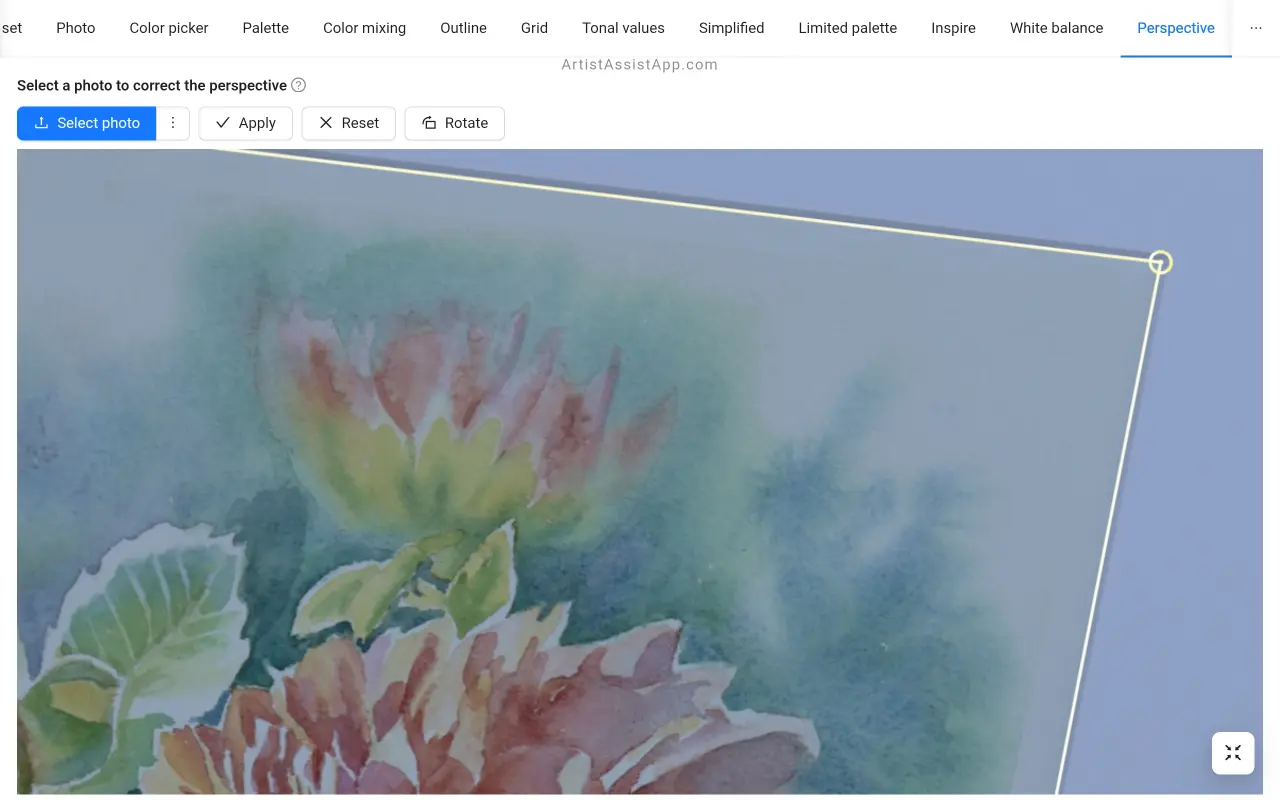
For a more precise selection of points, you can use the zoom.
Press the Apply button to adjust perspective and image geometry.
If you are not satisfied with the results, press the Reset button to start over.
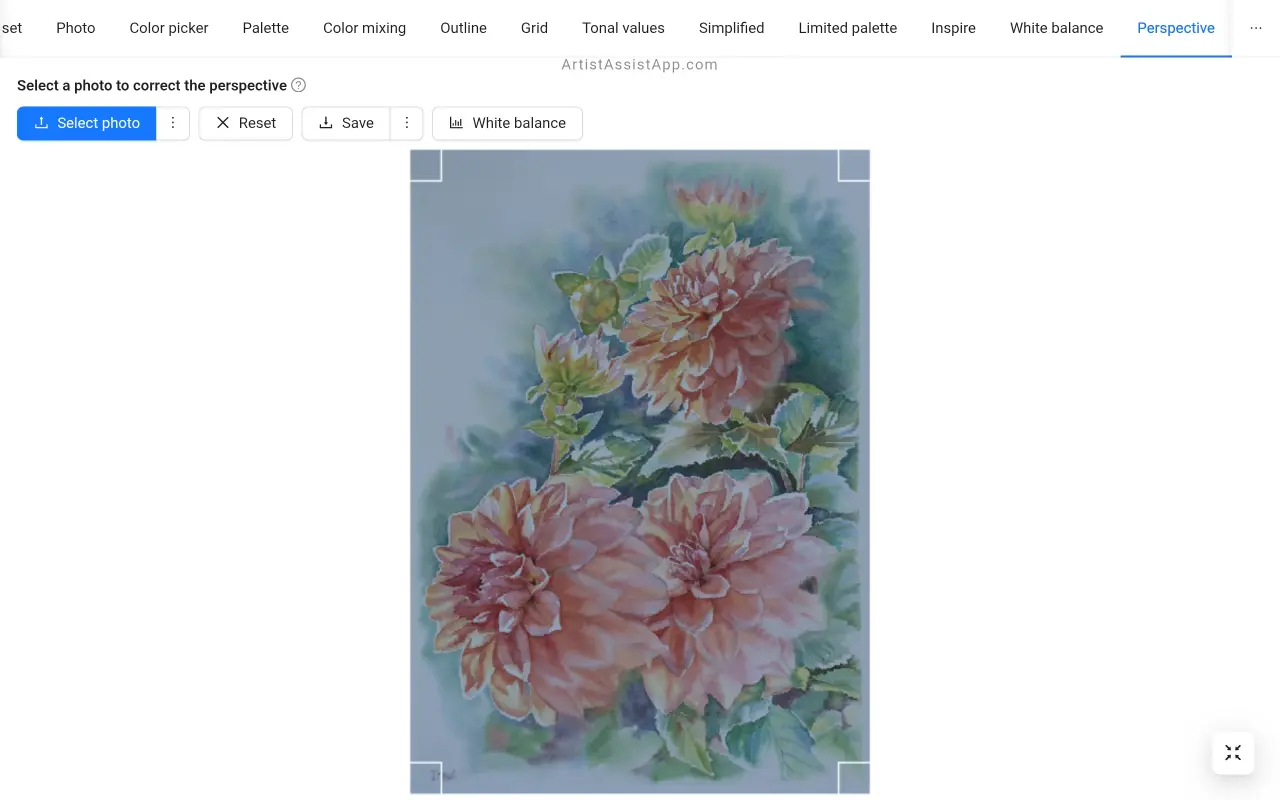
Cropping an image
Optionally, drag the margins to crop the image after applying perspective correction.

Saving the adjusted image
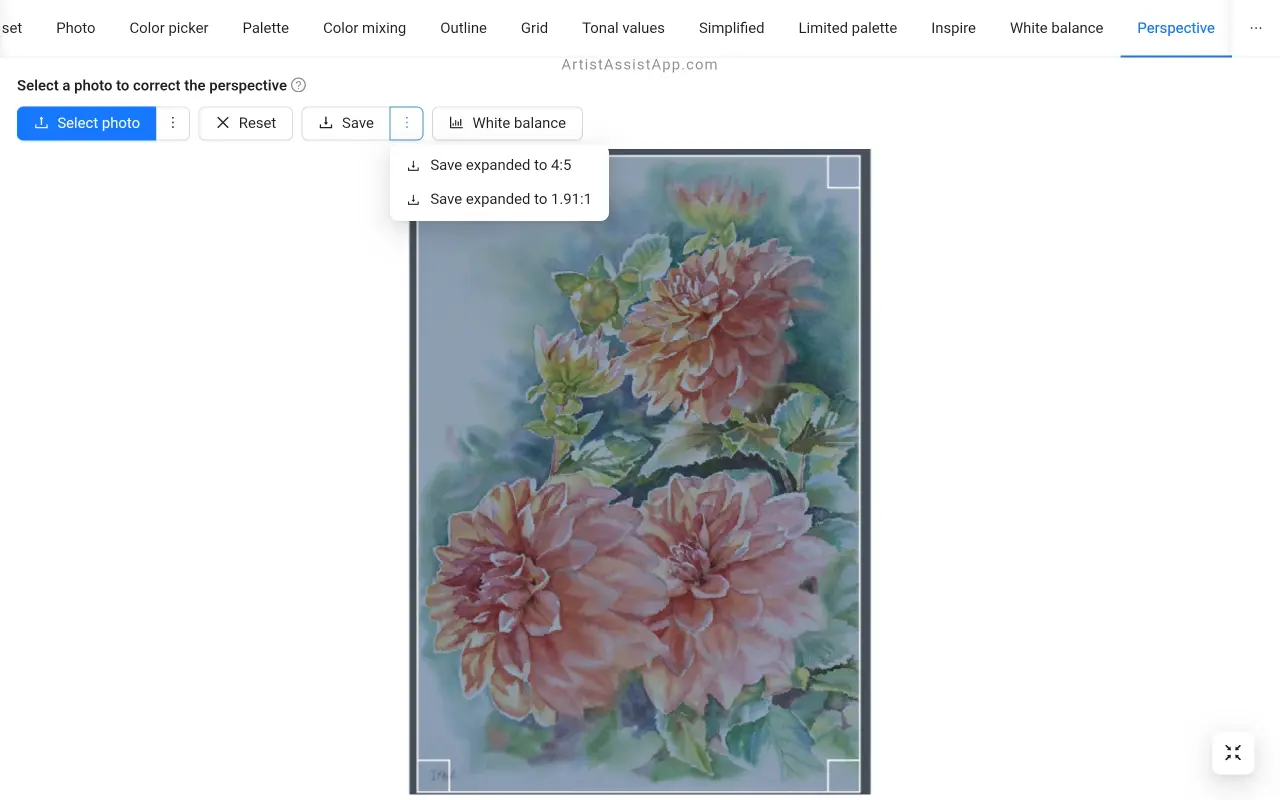
Press the Save button to save the image with corrected perspective.
If you are going to upload this image to Instagram, there are 2 useful options: Save expanded to a 4:5 ratio for images with portrait orientation and Save expanded to a 1.91:1 ratio for images with landscape orientation.
Adjusting the white balance after perspective correction
To further adjust white balance and colors of the photo, press the White balance button.

The perspective-corrected image will be imported to the White balance tab. For more information about white balance and color adjustment, see this tutorial.
About ArtistAssistApp
ArtistAssistApp, also known as Artist Assist App, is a web app for artists to accurately mix any color from a photo, analyze tonal values, turn a photo into an outline, draw with the grid method, paint with a limited palette, simplify a photo, remove the background from an image, compare photos pairwise, and more.
Try it now for free at https://app.artistassistapp.com to improve your painting and drawing skills and create stunning artworks.