Understanding atomic and optical color mixing
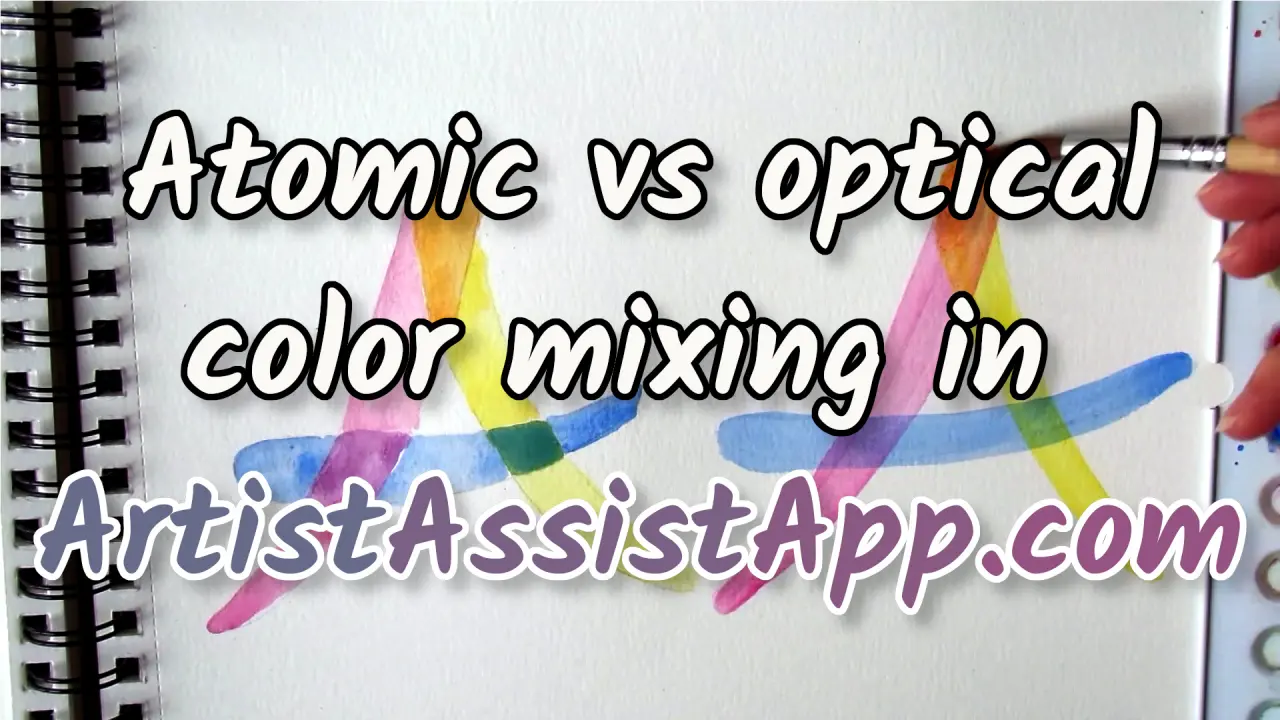
Table of contents
- Understanding the difference between atomic and optical color mixing
- Using atomic and optical color mixing in ArtistAssistApp
- Optical color mixing and paint opacity
- About ArtistAssistApp
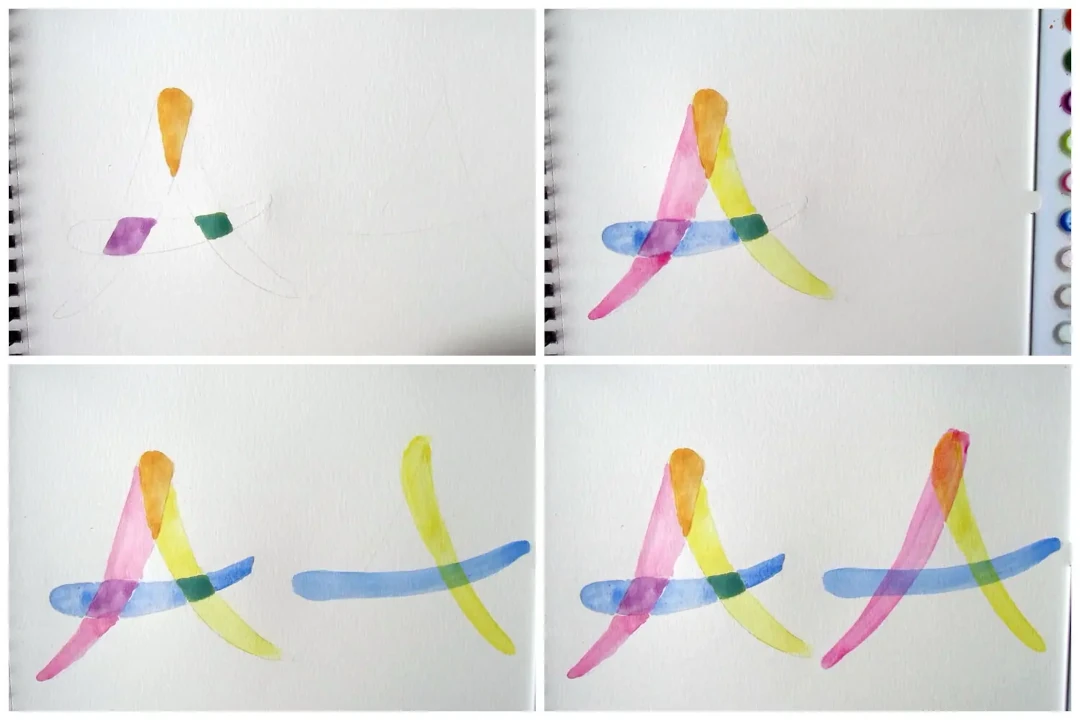
ArtistAssistApp allows you to choose your favorite color brands, choose a color set or manually add the colors you have on hand, click or tap anywhere on the photo, and get a step-by-step guide on how to precisely mix that color using atomic or optical mixing. Atomic mixing is the physical mixing of colors together, while optical mixing is the result of placing a transparent layer of color over another color (glaze technique).
Understanding the difference between atomic and optical color mixing
ArtistAssistApp supports both atomic and optical mixing.
- Atomic mixing is the physical mixing of colors together.
- Optical mixing is the result of placing a transparent layer of color over another color. It is also known as the glaze technique.

Using atomic and optical color mixing in ArtistAssistApp
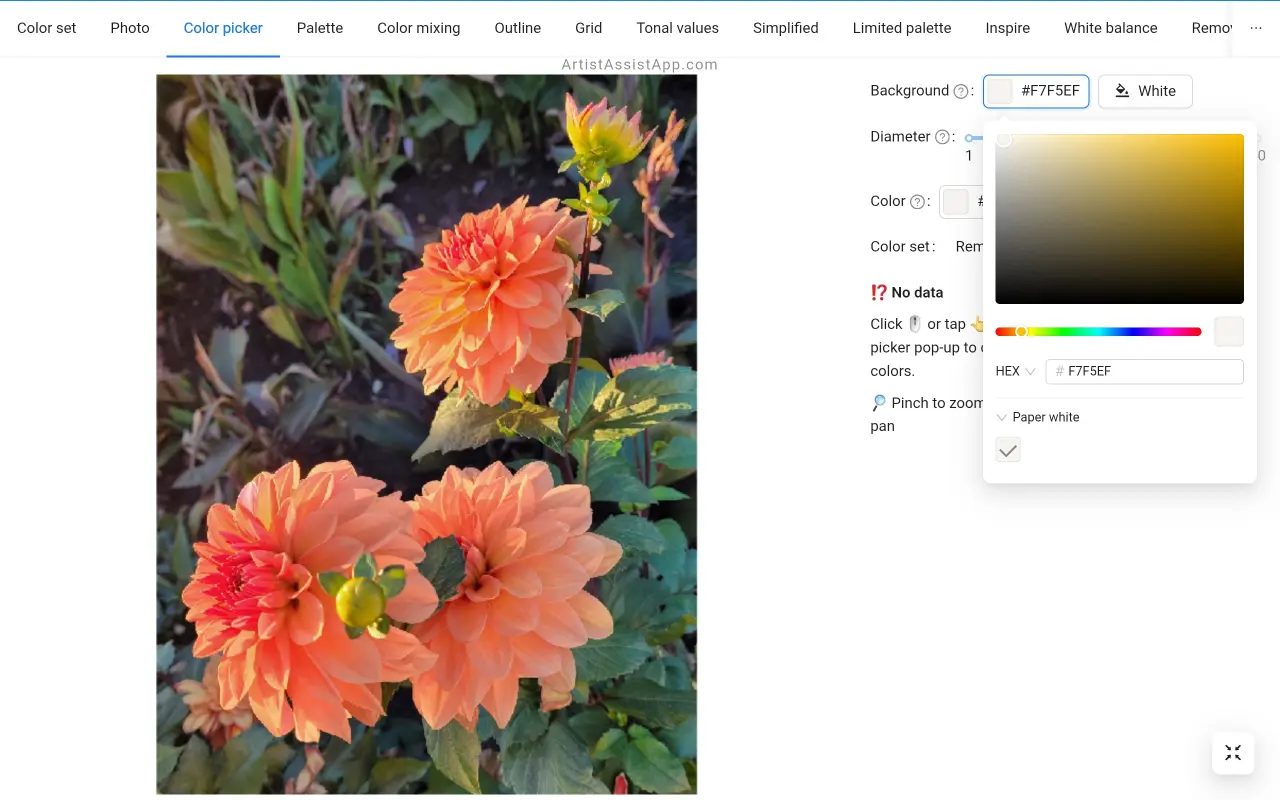
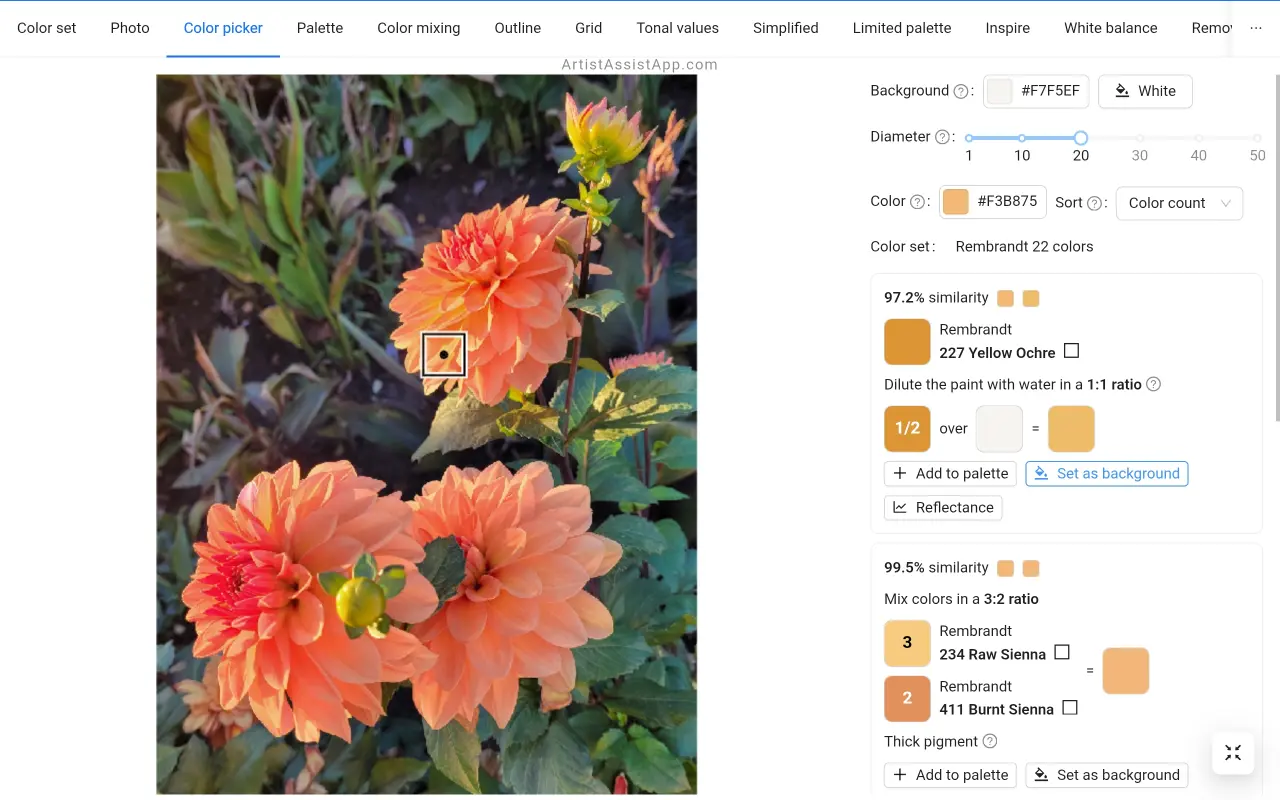
The Color picker tab lets you find the closest matching color from your set or provides a step-by-step guide on how to precisely mix any color from your reference photo.
Learn more about mixing colors from photos in this tutorial.
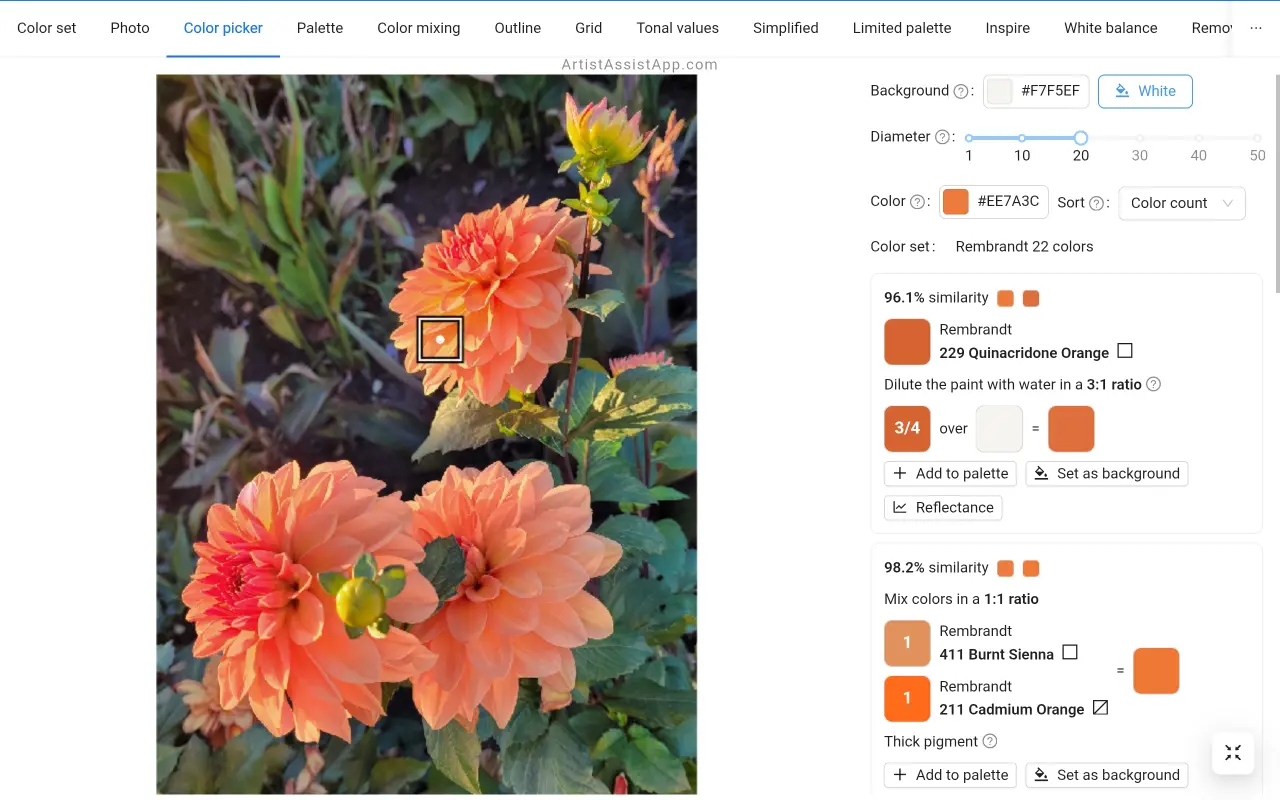
By default, atomic mixing is used. To switch to optical mixing, set the bottom layer (background color).
By default, the bottom layer has the color of white paper. You can select the bottom layer color using the color picker pop-up next to the Background label.
Alternatively, choose any color from the photo as the background color. Click or tap anywhere in the photo and press the Set as background button. This sets the background color.
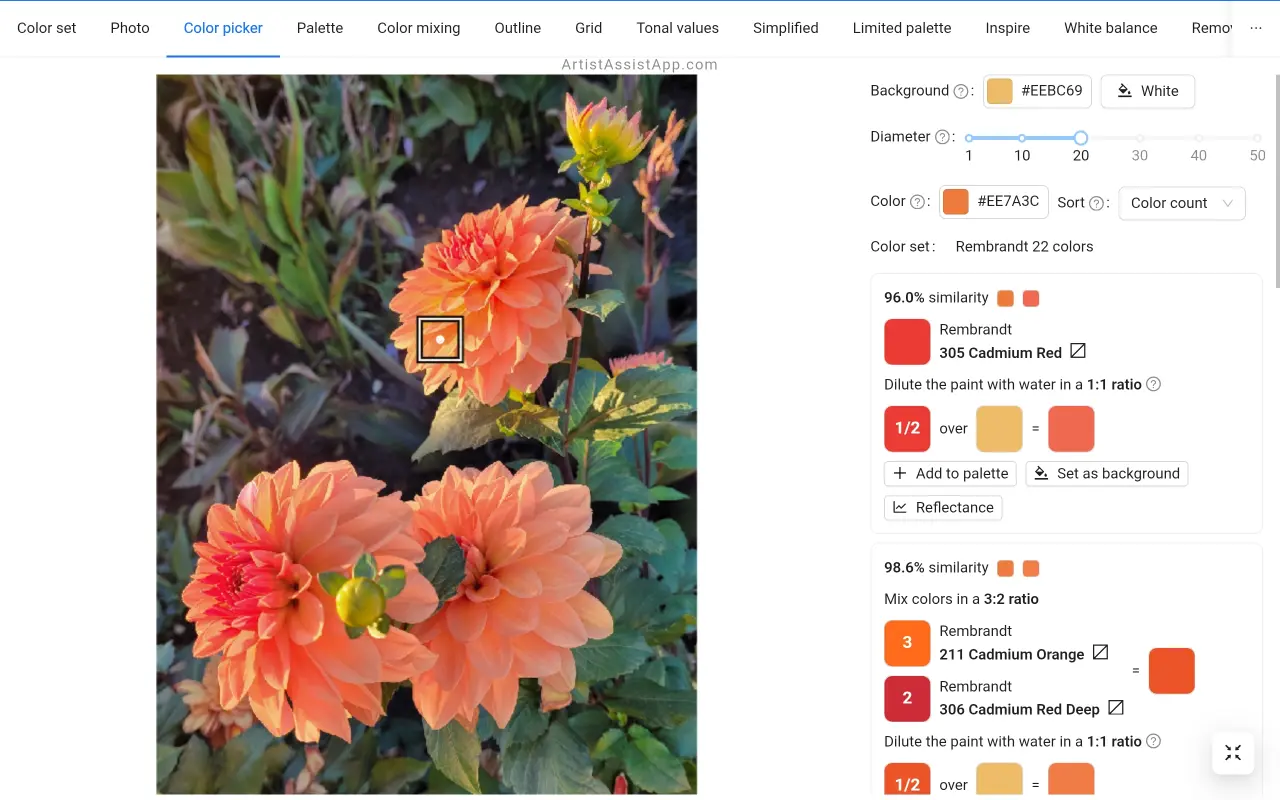
To switch back to atomic mixing, change the background color to paper white by pressing the White button next to the Background label.
Optical color mixing and paint opacity
The glazing (layering) technique works best with transparent and semi-transparent paints because they allow the underlying layer to shine through. Opaque and semi-opaque paints simply cover the underlying layer almost completely. If you dilute an opaque paint enough, it will not be a fully covering paint. But it is still not suitable for glazing, as it will result in a dull and muddy color.
Use opaque paints as a first layer or for the alla prima technique. The transparent paints can be used for the first layer as well as for subsequent layers that you glaze with.
Learn more about paint opacity in this tutorial.
There are generally accepted symbols for paint opacity (transparency).
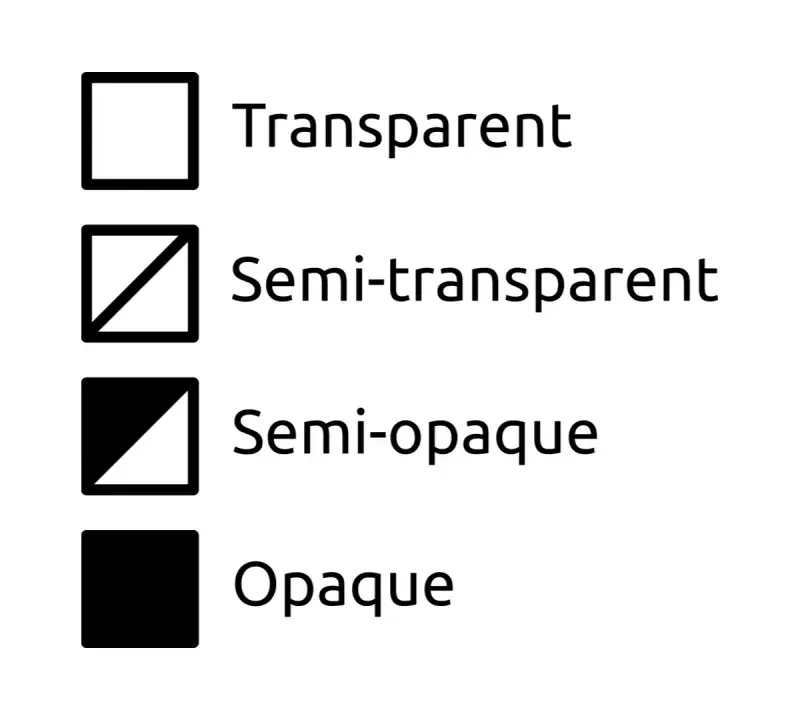
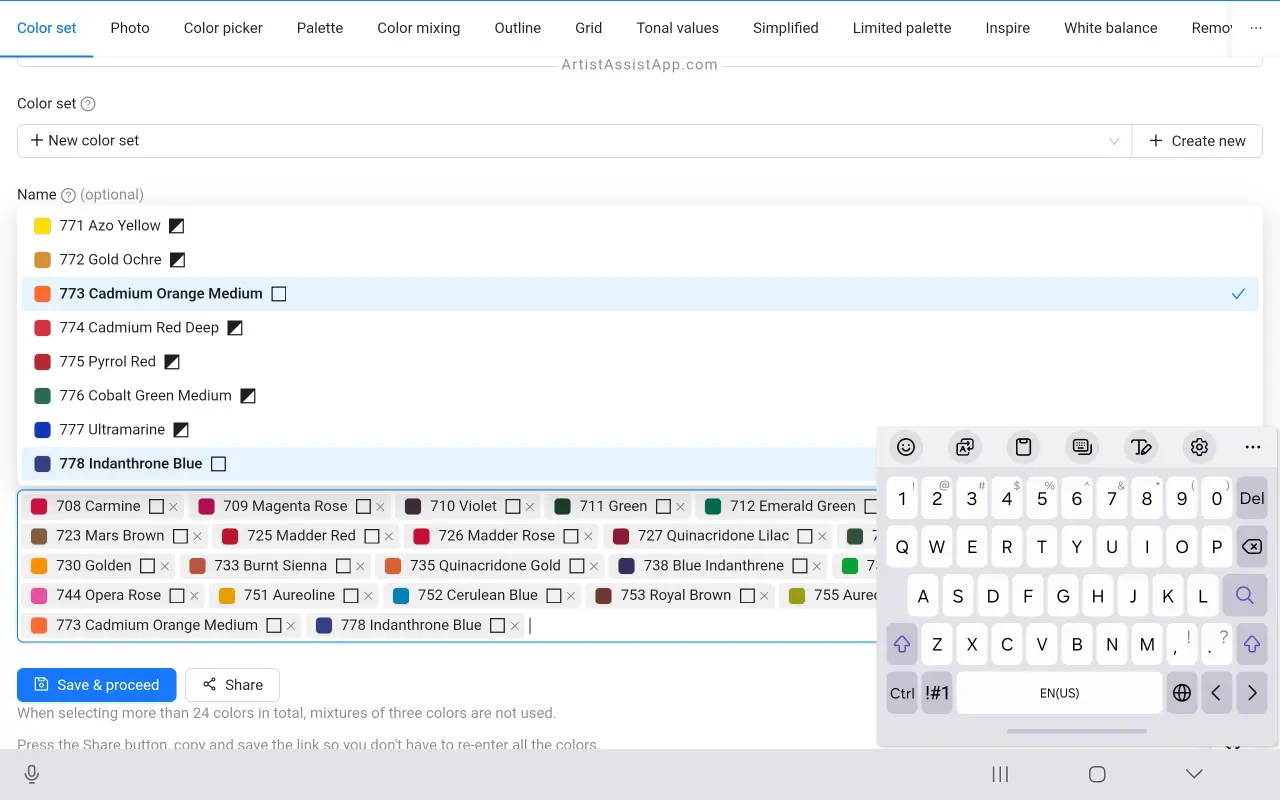
These symbols are also displayed in ArtistAssistApp when you create a color set.
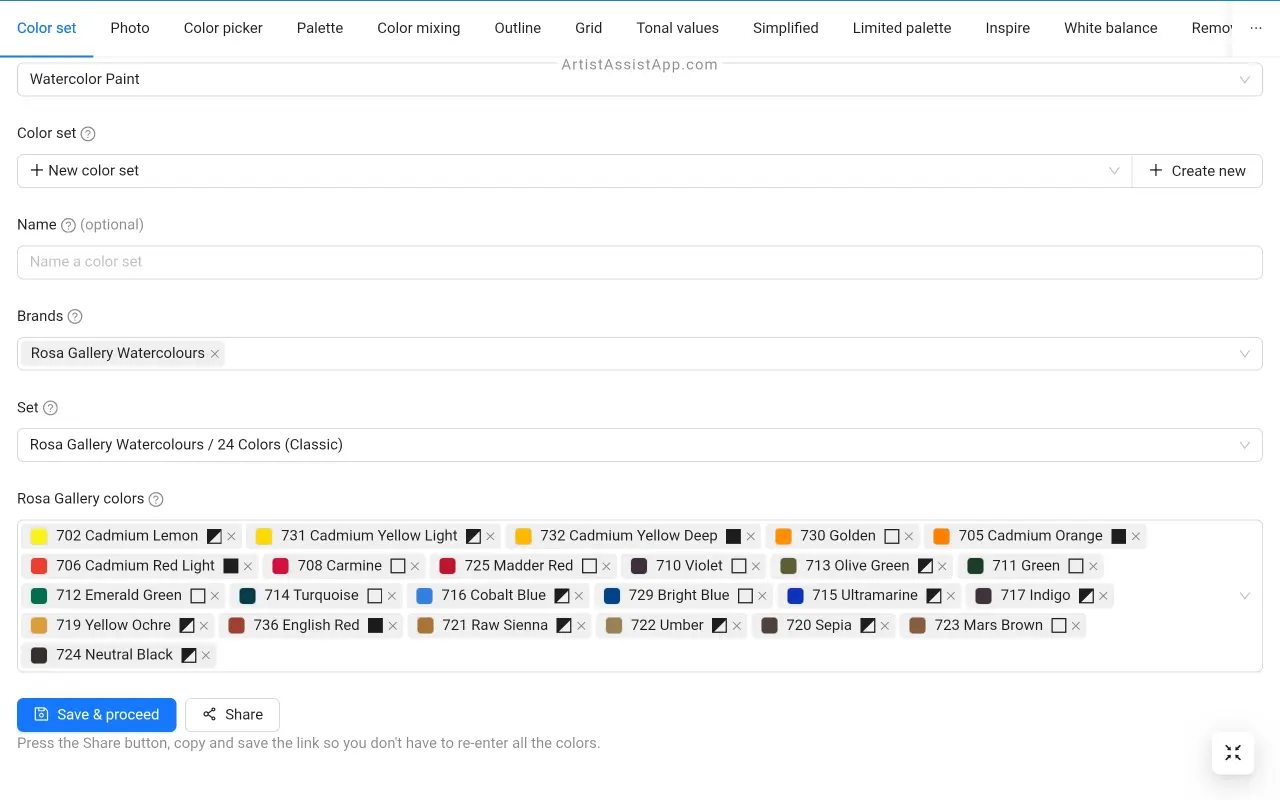
By looking at these symbols, you can, for example, remove all the opaque colors from your color set and leave only the transparent ones.
About ArtistAssistApp
ArtistAssistApp, also known as Artist Assist App, is a web app for artists to accurately mix any color from a photo, analyze tonal values, turn a photo into an outline, draw with the grid method, paint with a limited palette, simplify a photo, remove the background from an image, compare photos pairwise, and more.
Try it now for free at https://app.artistassistapp.com to improve your painting and drawing skills and create stunning artworks.